Devblog #4 [EN]: Home(production)lab upgrades: Proxmox, NUT & VLANs
Let's talk homelab upgrades, involving Proxmox, NUT & VLANs
1030 Words
2025-04-05 14:00 +0000 [Modified : 2025-04-05 15:00 +0000]
For a few months, the homelab has slowly been evolving to a more production-like environment. I have been using it to host my personal projects, and I wanted to make sure that it was stable and reliable. In this post, I will share some of the upgrades I have made to my homelab, including Proxmox, NUT, and VLANs. This is a very general overview of what has changed since last time for now, but you can expect more regular blog posts in the near future focusing on more specific topics.

Networking: VLANs!
Up until now, there was no real network segmentation in my homelab. Everything was on the same network, which made it difficult to manage and secure. It became even more relevant when I planned on doing a “cyberlab” (more on that later) and this server absolutely needed to be fully isolated from the rest of the network.
VLANs to the rescue
I never touched VLANs in my life before this, so it was a fun little journey especially with the difference in configuration between Cisco and Mirkotik.
Different VLANs were created for different purposes:
- Wifi VLAN: All wifi devices are on this VLAN, isolated from the rest of the network. They can only access the internet.
- Cyberlab VLAN: This is the “dangerous” VLAN. It can only access the internet, and is reserved for all the VMs that will be used to experiment with some malware/Windows AD and other fun stuff.
- Server VLAN: This is the main VLAN for all servers.
- Management VLAN: This is the VLAN for all management interfaces (Proxmox, UPS, Router, etc.).
- Workstation VLAN: This is the VLAN for all trusted PCs.
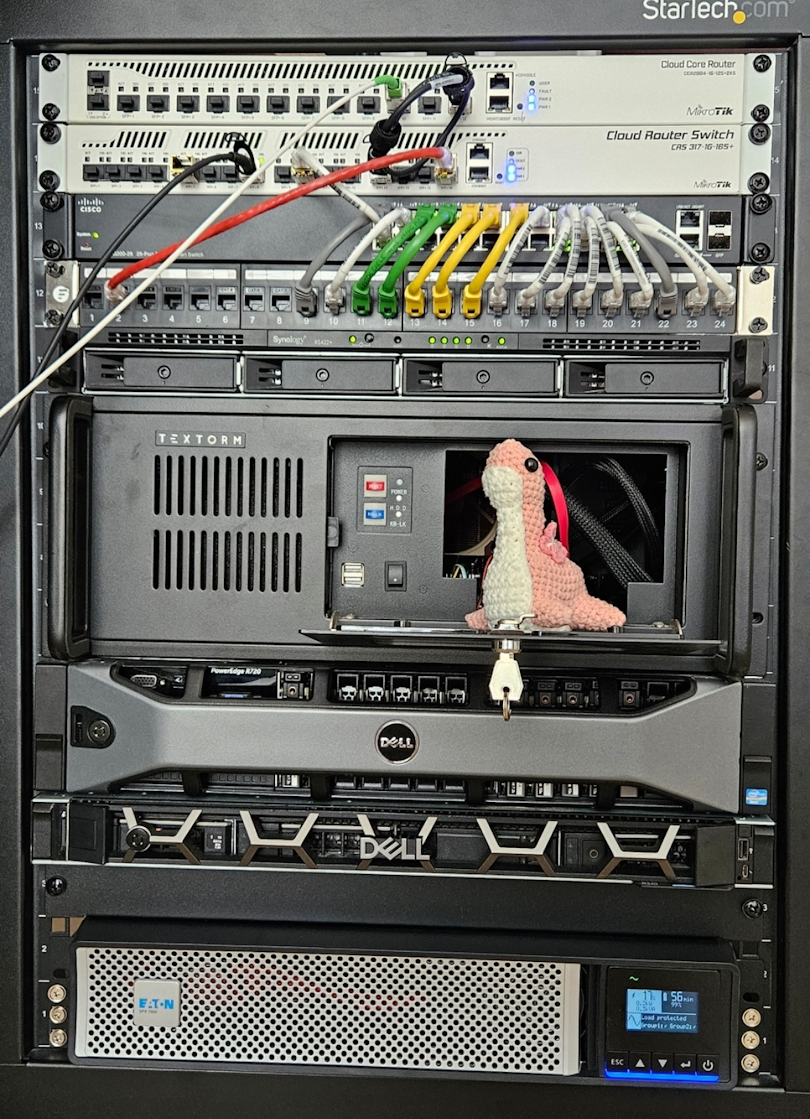
I started using colored cables to make it easier to identify the different devices, but I quickly realized this would not be enough. I will have to start thinking about a proper labelling system at some point!
Main server: Hardware upgrades and moving to Proxmox
Before that, this was a simple server running on Debian with consumer hardware. This is served me well for the last few years, but as my side projects grew, I started running low on RAM: 120GB was simply not enough anymore. It was time to start thinking bigger. The hardware has been changing to the following:
- CPU: AMD EPYC 7413 (24c/48t). This is a older platform CPU, but fits my need and is pretty affordable on the second hand market.
- RAM: 512GB DDR4 ECC.
- Motherboard: Supermicro H12SSL-I-O. This was actually the most expensive part of the build, but server motherboards are not cheap. This finally gives me IPMI support which was one of my main requirements!
- Storage: 2x 4TB NVME Micron 7400 PRO 3.84TB M.2 in RAID 1. 4TB was a must-have and I was able to get those new for fairly cheap. That also gives me room for expansion with U.2 drives in the future.
- Network: 2x 10GbE SFP+ ports. As I started working with weather model data, 10GbE started to be a requirement.
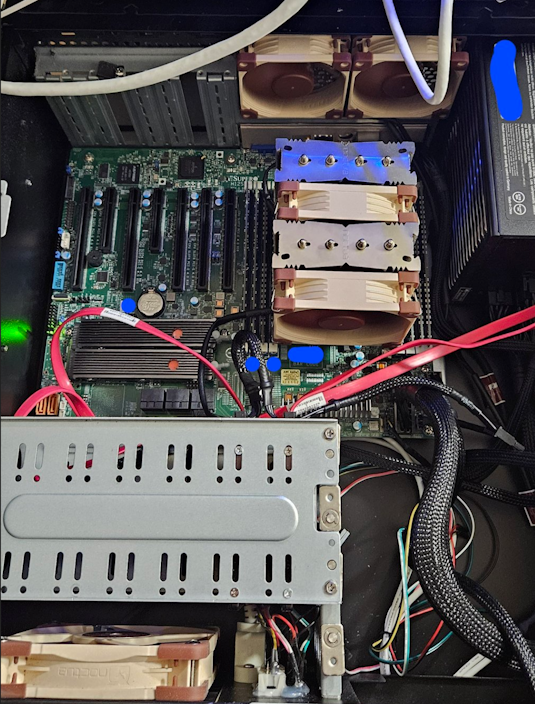
- CPU Cooler: Noctua NH-D9 TR5-SP6 4U. This is a SP6 socket cooler but luckily it has the same physical dimensions as SP3 and is properly oriented for my case exhaust - unlike the Noctua SP3 cooler which was blowing hot air into the PSU. Noctua kindly sent over mounting bracket adapters for the SP3 socket!

Proxmox
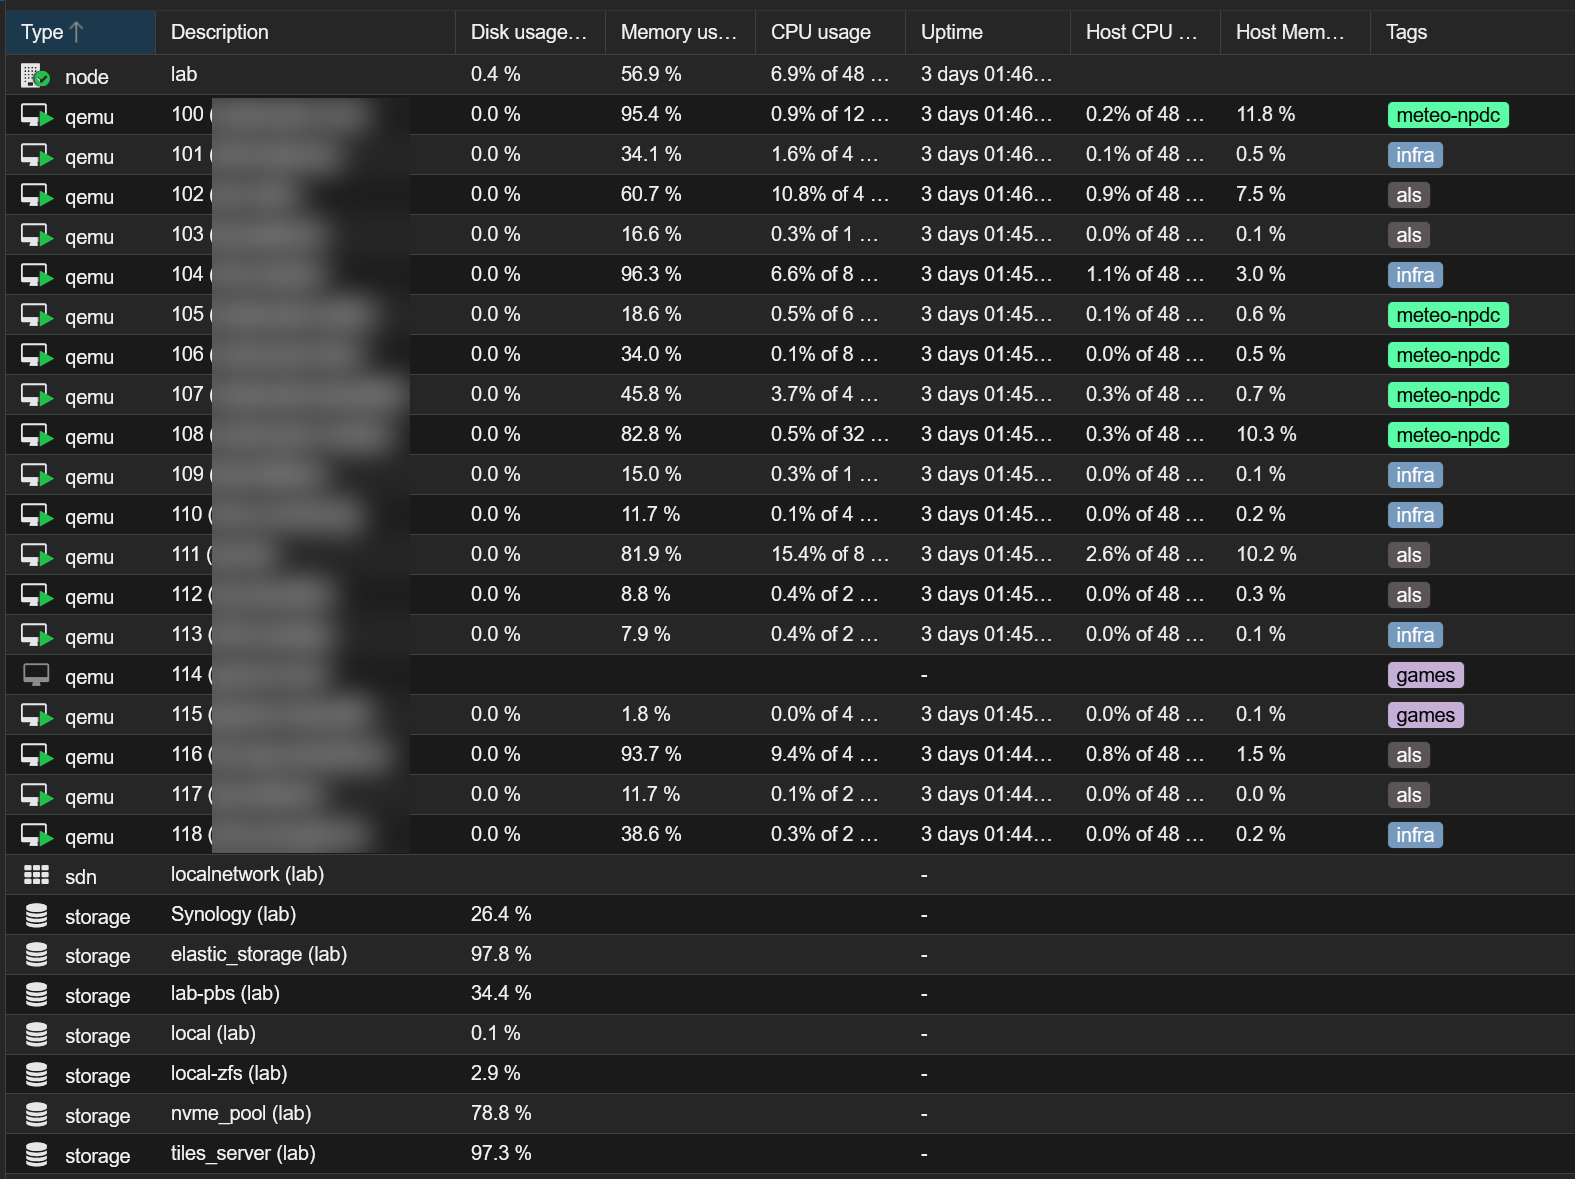
Migrating to Proxmox was a bit painful at first (baremetal to hypervisor is really not a fun process), but I am now really happy with it. I have been using it for a few months now and I am really happy with the performance and stability. I have been able to finally split my workload into different VMs, making it easier to manage and more importantly more secure.
This has allowed to move all the non-critical ALS workloads into this Proxmox host, reducing hosting costs at the same time. This also hosts all my other side projects (weather stuff, monitoring VMs…) while still leaving some headroom for future projects.
I’m also using Proxmox Backup Server for offsite encrypted backups as the integration was pretty much seamless. My trusty Synology NAS still handles the local backups within a 2x18TB drives RAID 1 volume.

Electricity cost
It’s not cheap. The whole rack costs around 70€ a month to run, but to put that into perspective, a similar spec server (so that’s just the main server, not all the network equipment/NAS) would be just below 700€/month at OVH. Sounds like to great deal to learn all the surrounding stuff :)
UPS & NUT
I was finally time to replace the old dying APC UPS. After testing a APC SMX1500, I was really disappointed by the electrical noise this thing was making. I sent it back and finally went with a Eaton 5PX 1500 G2. It has been a great unit so far, while being near silent in normal operation and allows for network management. I really wanted a rack mounted one to fit everything inside it and avoid cables going in and out everywhere.
Network UPS Tools management
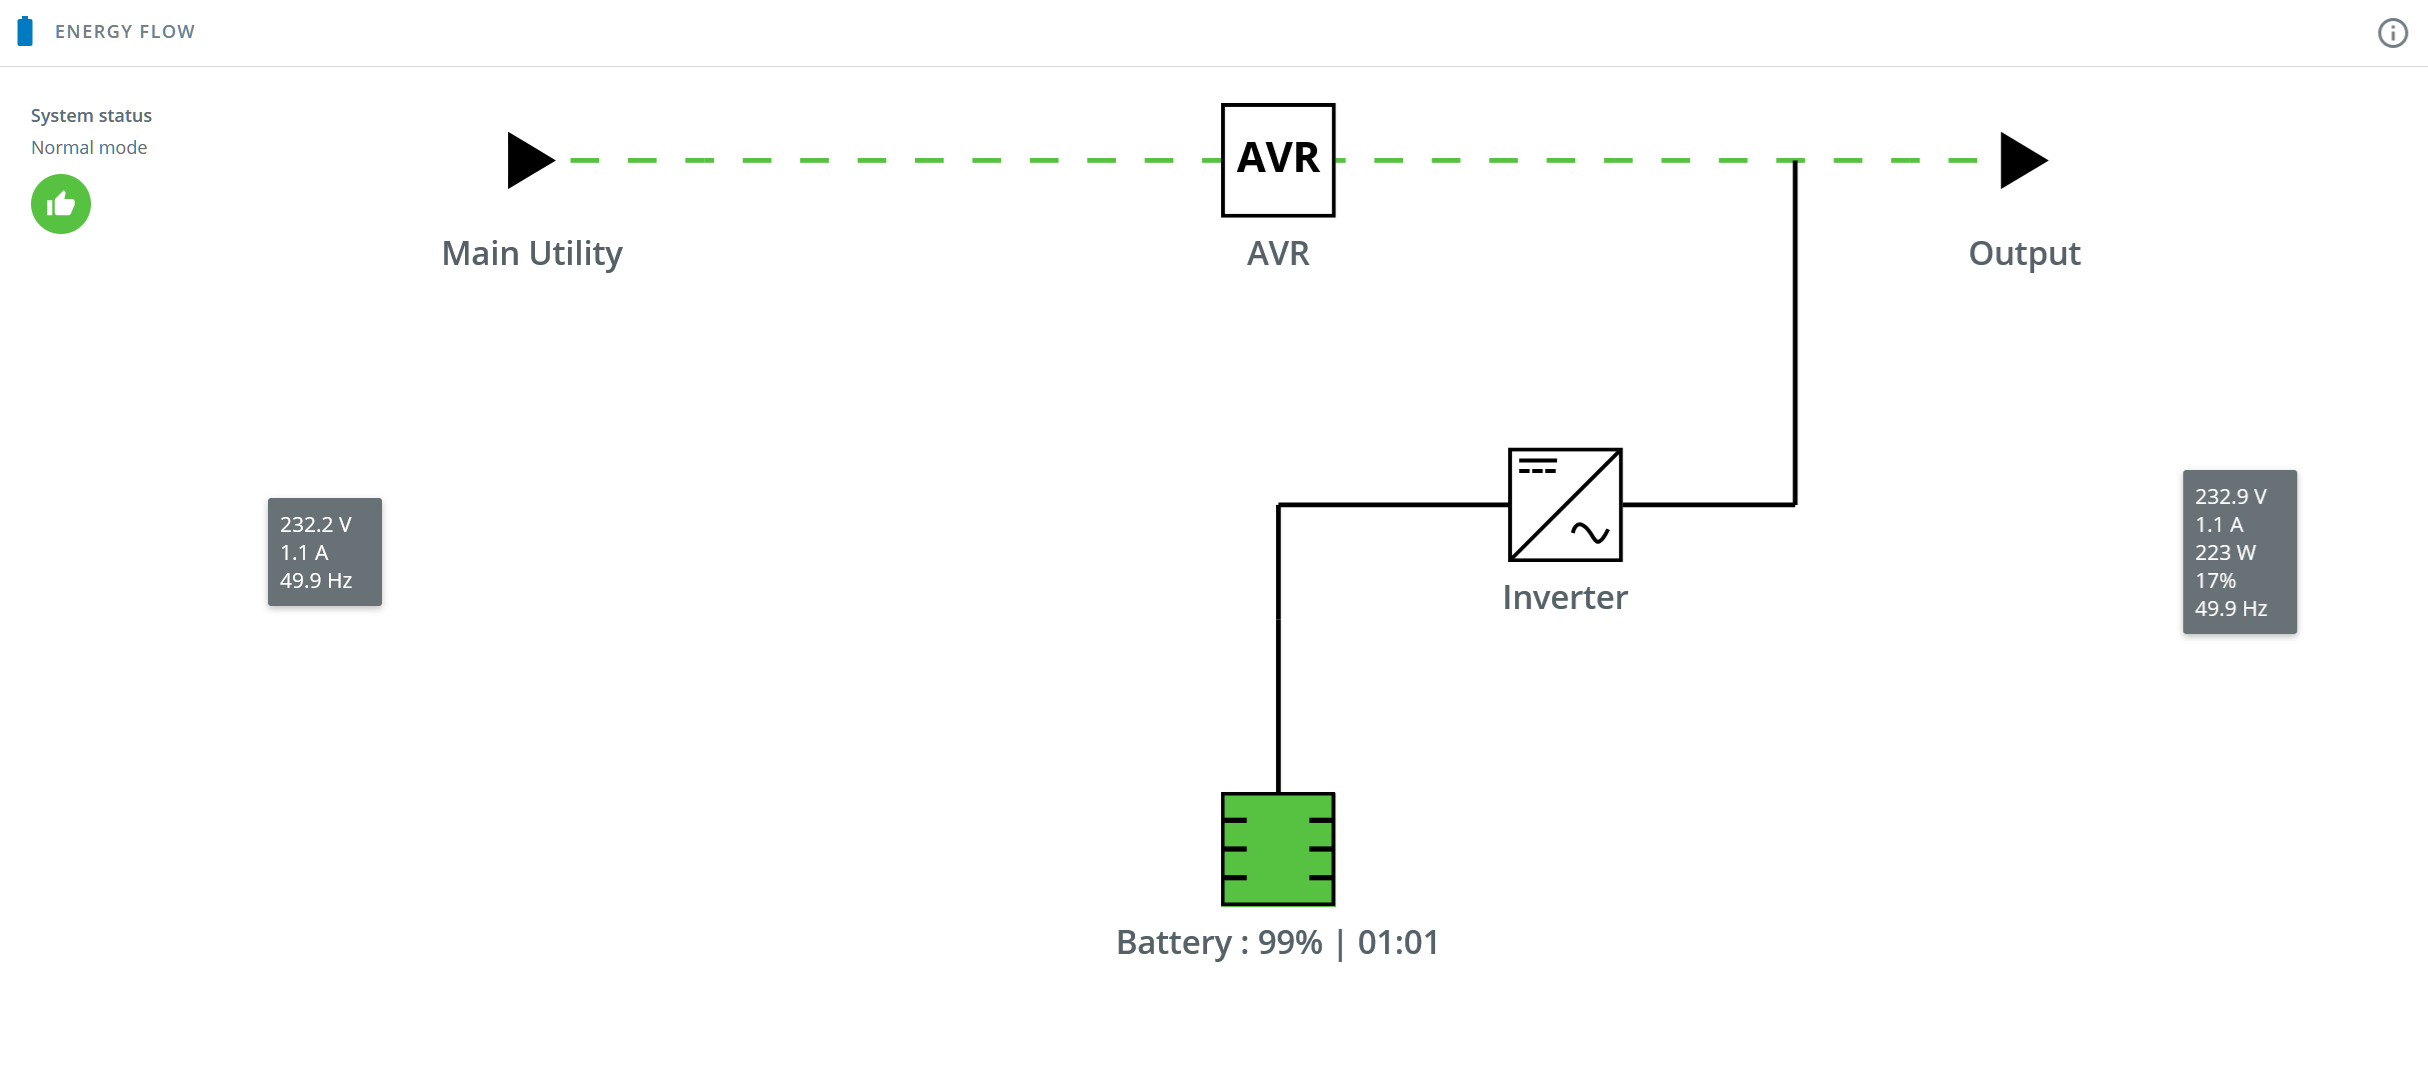
In case of power failure, I need something to easily shut down all my servers when the battery runs low. I went with Network UPS Tools that is running on a Raspberry PI 4, with all my servers listening to it. When the battery runs low, it will send a shutdown command to all the servers. All servers and the UPS itself are configured to automatically power back on when power is restored, which should ensure fully automated recovery. The network card in the UPS also allows me to power cycle each outlet groups, just in case.

Cyberlab
I always wanted to have a server to play around with cybersecurity related stuff. I got a second hand Dell R340 for this purpose, which is only powered on when needed (those things are loud). Fun fact, the service tag returns some McDonald’s related custom configuration… maybe this was actually used in McDonald’s before? I’ll be able to play with Windows Active Directory etc. while being fully isolated from the rest of the network, when I’ll want to start playing around with some attack scenarios. I’ll probably have more on this in the near future!